How To Convert Your Metal Building Into Your Dream Home
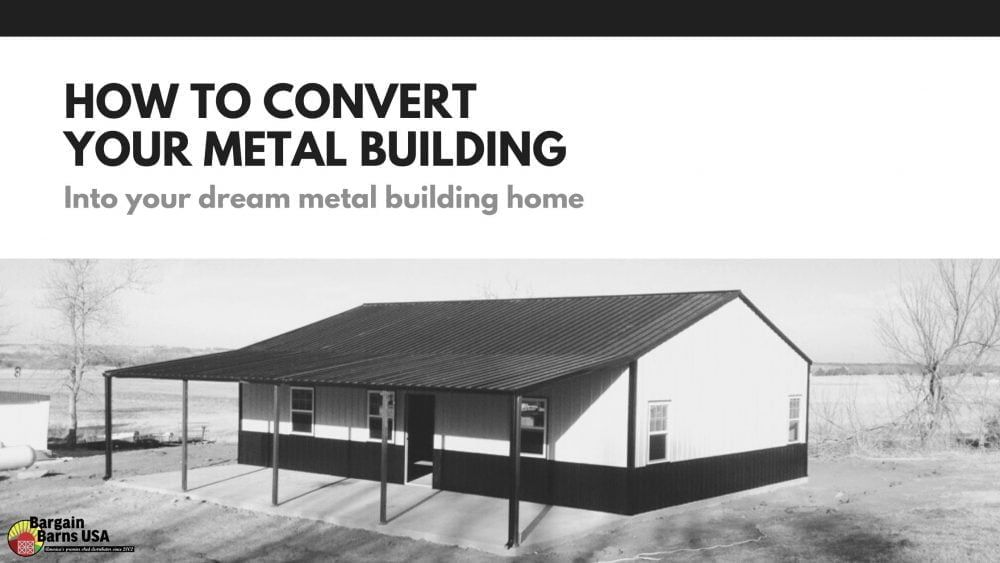
Metal buildings are extremely versatile. People use them for everything from carports and garages to outdoor workshops or private offices. Some people even live in them! If you can think of it, it can likely be done. That being said our carports are not engineered to be converted into homes. The following information will only work for our weld-up steel buildings.
But turning your metal building into a home means a few upgrades are likely required. Some are superficial, such as colors and texture, while others are vital to your way of life within your new four metal walls, such as installing electricity, insulation, and making your new home homier. But where do you start with any of this?
In this post, we break down exactly how you can turn your metal building into your dream metal building home.
In a rush? Feel free to jump to any section you like from the list below:
How to Prevent Condensation Problems in Your Metal Building Home
Tips and Advice for Insulating a Metal Building
The Benefits of Insulation
Choosing the Right Insulation for Your Metal Building
How and Why to Add Electricity to Your Metal Building
How & Why You Should Add Electricity to A Steel Building
Can You Paint a Steel Building?
Four of Our Favorite Steel Building Accessories
How We Can Help!
How to Prevent Condensation Problems in Your Metal Building Home
Metal buildings are great in many ways. They’re easy and inexpensive to assemble, they handle severe weather well, and they need very little maintenance to keep their appearance or their functionality.
That being said, they also experience a few problems that other buildings don’t see as often. The biggest of these is condensation and water damage.
Condensation is a common problem in steel buildings for a few reasons. First, because many metal buildings are uninsulated, condensation forms more easily in them than in other building types. The cool metal surface makes water vapor collect on the roof and walls much more readily than in concrete or wooden structures. Also, because steel rusts, condensation can lead to problems both with the structural integrity and appearance of your building.
There are a few main causes of condensation problems in steel buildings. Understanding why your building is experiencing condensation issues is the first step towards solving the problem.
Lack of Insulation
When there’s a big temperature difference between the inside and outside, condensation will form on your walls and ceiling. Water will always condense on a cooler surface, and metal walls or roofs are the perfect places for it to collect. Over time this can lead to rust, mold, and pooling water that can erode your foundations.
The most frequent cause of condensation problems is that the walls and roof aren’t insulated. This puts the cooler surface of the metal up against warmer, more humid air, and allows water vapor to condense on it easily. Fortunately, this problem is relatively easy to solve.
Insulation can be added to almost any metal building interior, which in turn reduces condensation and also helps regulate the interior temperature of the building. Whether you have a shed or a metal building, it would probably benefit from being insulated.
Insulation Problems
However, just adding insulation isn’t the end of the story. A special concern when dealing with insulated buildings is when the insulation itself is exposed to condensation. Buildings that are improperly insulated can experience even bigger problems than those that aren’t insulated at all. For instance, when fiberglass or blown insulation is exposed to water, it absorbs it and quickly grows mildew or mold, leading to odor and problems with rot, allergies, or illness.
Most insulation problems occur because the insulation was not properly sealed from the outside air. In a metal building, it’s especially important that you seal the top and bottom spaces with vinyl backing or a vapor barrier so you can keep humid air out of the insulated space. This will also prevent unwanted heat transfer, which in turn makes the insulation more efficient.
If you want to know more about keeping your metal building in top shape, contact us today at Bargain Barns USA. We’re the number one metal building contractor in Oklahoma and distribute our products to 25 states across the country.
Tips and Advice for Insulating a Metal Building
Metal buildings have many good qualities, but temperature regulation isn’t usually one of them. If you have a metal building you plan to use for an office, workshop, or other occupied space, you’ll need to think about insulation. A well-insulated metal building can be just as comfortable as a stone or wood structure – you’ll just need to plan ahead and choose the right insulation for your needs.
The Benefits of Insulation
There are many reasons why you should use insulation in your metal buildings, such as:
- Temperature Regulation – The biggest benefit of insulation is its ability to keep your building’s interior temperature stable. This can make it more comfortable inside and prevent it from getting too hot or cold.
- Energy Efficiency – If you heat your building during the winter or cool it in the summer, insulation helps preserve the temperature changes. This reduces your overall energy use and keeps your building at the desired temperature longer.
- Moisture Control – One common problem with metal buildings is condensation. However, insulation can help prevent condensation problems by reducing the open air that can access the metal surfaces of your building. In turn, this also helps prevent mold, mildew, and water damage caused by condensation.
- Sound Dampening – Insulation can also create a noise barrier that prevents exterior sound from getting inside your building, making it more comfortable to occupy and use.
Choosing the Right Insulation for Your Metal Building
When you do choose to insulate your metal building, you’ll need to determine which type of insulation is right for you. Different types of insulation have different qualities and suit different projects and budgets.
Here are a few of the most common types of insulation used in metal buildings:
Loose Fill Insulation
Loose fill insulation is a popular choice in many types of buildings, but it requires particular kinds of construction methods in order to be effective. Unlike other insulation types, loose fill insulation isn’t secured to the walls. It must be held in place by interior walls (such as drywall or sheetrock paneling) or drop ceiling panels. If your building has unfinished walls or ceilings, you won’t be able to use loose fill insulation.
That said, loose fill insulation does have some benefits. Because it is blown in rather than placed, it is good at filling in small and hard-to-reach spaces. It also creates a very good air barrier that preserves the temperature inside your building. If you plan on using your building as a living or workspace, the loose fill can be a good choice.
Fiberglass Batting
One of the most common and inexpensive forms of insulation, fiberglass batting is a great choice for metal buildings. Fiberglass insulation is quick to install and easily secured to a variety of surfaces. It’s also available in many different thicknesses and insulation values, making it appropriate for many different climates and use cases.
However, installing fiberglass insulation does require some expertise. It’s also bulky and can be difficult to work with if you aren’t experienced. Finally, fiberglass batting has a habit of leaving fibers behind on surfaces and in clothes that can be irritating to the skin and eyes.
Rigid Board Insulation
Rigid board insulation is similar in many ways to fiberglass batting, but instead of thick blankets, it is more similar to styrofoam packing material. Rigid board insulation is constructed from heat-resistant polyurethane boards in varying thicknesses. It is lightweight and available in many different insulation values, making it a good choice for many different climates and types of buildings. Rigid board insulation is also a good choice for buildings that may have increased fire risk such as workshops and barns.
However, rigid board insulation can be difficult to install if you aren’t experienced with it. Since the pieces are firm, they must be cut to fit different lengths and to avoid obstacles like wall studs or ceiling joists. They also have a hard time fitting in hard-to-reach spaces and can leave significant air gaps if they aren’t installed properly.
Spray Foam Insulation
A final type of insulation commonly seen on metal buildings is spray foam. Spray foam insulation is a type of expanding polyurethane foam that is blown onto the interior surfaces of your building. Because it is self-adhering, spray foam insulation is fast to install and can be used in virtually any building type. It is also excellent at filling in small spaces and getting around obstacles, and since it adheres directly to the interior surface, it leaves little to no air gaps.
That said, spray foam insulation is tricky to install and should be put in by a trained professional. It is also more expensive than other insulation types since it requires special equipment and expertise.
Should You Use Radiant Barriers?
Along with insulation, a radiant barrier is an important part of keeping any building’s temperature and moisture stable. Radiant barriers help reduce heat transfer by reflecting heat and infrared radiation back onto the exterior walls of your building. They can also help prevent condensation problems and make your insulation last longer and work better.
Radiant barriers come in several varieties appropriate for different types of insulation. However, you’ll need to install your barrier before your insulation is in place. Make sure you discuss radiant barriers with your contractor early on to make sure you get the right type and have time to install them properly.
If you have more questions about the installation and care of metal buildings, contact us today at Bargain Barns USA. We install and maintain a huge variety of metal buildings across the country, and we have the expertise you need for your building project. Call 405-872-0338 today or visit us on Facebook to learn more.
How and Why You Should Add Electricity to Your Metal Building
For many metal building owners, these buildings aren’t complete without the addition of electrical power. Whether you want light, heat, WIFI, or power for appliances, adding electricity can make a big difference.
Why Add Power to Your Metal Building
If you’re considering adding electrical lines to your metal building or shed, or if you just want to build a powered metal building, the first question you need to ask is, “What am I using it for?” Your answer will help you determine the best way to power your building.
For instance, if you only want to power a few lights or a utility outlet, you’ll most likely be fine with a simple, direct wiring job from your house’s main electrical panel. However, if you’re converting your metal building into a home, you want a higher-capacity solution.
In either case, adding electrical power to a metal building doesn’t have to be a complex job. Depending on the complexity of the wiring, you should be able to finish the work in a day or two.
How to Add Electricity to A Steel Building
Running electrical cables and getting power to a metal outbuilding might seem like a complex job, but it’s actually surprisingly simple. Of course, if you’re not experienced with do-it-yourself work or aren’t comfortable working with electricity, you can always call an electrician and have them do the tough stuff.
Step 1: Plan the Conduit
Before you start running wire, you’ll need to plan out the route that the wiring will take. For most backyard outbuildings, it’s easiest to run the power from the main panel. This will ensure that you’re not pulling too much power from another circuit in the house.
If your main panel isn’t easily accessed from your shed’s location, it’s also possible to run your wiring off an existing junction box or circuit; just make sure you’re not adding too much load to an existing circuit in your home. If you’re planning to run power off your main panel, you’ll need an electrician to make the final connection.
When planning the route your wiring will take, you need to keep angles in mind. The National Electric Council states that wiring is not allowed to “bend” more than 360 degrees when you’re running it through an electrical pipe.
Since you probably already have two 90 degree bends planned – one running down from your house to the ground, and one running up from the ground to your metal building – you’re limited to 180 degrees of bend or two 90-degree turns.
Once you have your conduit planned out, you’ll need to get wire. For most outdoor wiring, it’s easiest to run standard electrical wire through a rigid metal conduit, which resembles a thin metal pipe.
Rigid metal conduit, or RMC, only needs to be buried to a depth of six inches underground. Other types of underground wiring, such as electrical feeder cable, need to be buried 12 inches down. With Oklahoma’s rocky, clay-filled soil, you’ll save a lot of time and effort if you have to dig less.
Measure out the total length of the circuit, including the vertical length from your connections to your house and your metal building. Remember to add six inches on each end for the underground depth. It’s also a good idea to buy some extra wire and RMC, just in case.
Step 2: Dig the Trench
This is a relatively simple step. You need to dig a trench following your planned conduit route. The trench should be deep enough that the top of the RMC pipe is at least 6 inches underground. This is easiest to do with a pick or a mattock since their long, thin blades easily pull up dirt for a trench without it being too wide. You might also want to remove some grass or sod beforehand to lay over the filled trench when you’re done.
Step 3: Lay the Conduit
Once you’ve dug the trench, you’ll need to bend the conduit at the proper locations and lay it out. It’s easiest to do this if you assemble the lengths of RMC first, and then mark the locations where the bends will be.
You’ll need a pipe bender to make the 90 degree bends you need – most hardware stores allow you to rent them if you’re not interested in buying one.
After your conduit is laid out, you need to connect it to your house and to your metal shed. It’s easiest to do this with connectors called LBs. These connectors have access panels on the back that allow you to pull wire through easily. Plan the locations of your connections to the house and the metal building and mount them on the wall. You’ll need a long drill to make holes into the shed to complete the circuit.
Step 4: Fasten the Pipe and Pull the Wires
Now that your conduit is planned and laid out, you’ll need to fasten everything together and run the wire. Use pipe wrenches to fasten all the RMCs together, and use a compression fitting to attach the RMC to the LB at your metal building.
Now you have to run the wire, one of the trickiest parts of the job. Electricians use a tool called fish tape to do this task. You’ll need to carefully push the fish tape along the length of your completed conduit, and then attach it to a guide string at the other end. This part of the job is best done with two people, one at each end of the circuit.
Remember that you should never pull wire directly with the fish tape. Instead, pull a guide string through the conduit first, and then use the string to pull the wires. You’ll need at least two wires, one white (which lets the current coming from the outlet return to the panel) and one black (which sends power back and forth from the service panel & circuit), to complete the circuit.
If you’re doing a bigger job with a three-way switch or multiple circuits, you’ll need more wires. Pull the wire carefully through the conduit and into the LB, then feed it through the wall.
That’s it! You now have wiring leading directly to your metal building. From here, you can wire up lighting, outlets, or other electrical devices. Remember to attach a power disconnect switch to the circuit where it enters the shed, and then run your power how you like through the interior.
To learn more about metal buildings and their many uses, you can contact us today at Bargain Barns USA. We’re one of the country’s leading providers of metal buildings, sheds, and carports, and we’d love to help you with your metal building project!
At this point, your new metal home is insulated, you don’t have to worry about leaks, and you have electricity. Now let’s add some visual upgrades.
Can You Paint a Steel Building?
Steel sheds are built to last for decades and rarely need more than basic maintenance. However, many people ask if it’s possible to paint their old metal building in order to give it a new look or protect it from rust and corrosion. The answer? Of course, you can paint your building – but you should take steps to do it the right way. After all, a fresh coat of paint is definitely going to help change your metal building into your dream home.
Why Paint A Metal Building?
There are a number of reasons you might want to paint your steel shed or outbuilding. Some of the most common reasons people paint their steel buildings are:
- Rust Protection – As steel buildings age, they can develop rust on areas exposed to frequent moisture. A coat of paint can help protect your shed against rust and prevent it from degrading over time.
- Refreshed Appearance – Steel sheds maintain their appearance well over the years, but a coat of paint can help an older shed look fresh and new again.
- Match Other Buildings – If you have a metal building near your house or if you have multiple outbuildings, a coat of paint can help it match the rest of your property.
Steps to Painting a Steel Building
If you want to paint your building, there are several steps to the process you’ll need to complete.
First, wash the entire building to remove dirt, dust, and debris. To wash your soon-to-be metal building home you can use either a garden hose and a gentle soap with a brush to scrub it down, or you can use a pressure washer on a gentle setting.
In either case, be sure to remove as much surface dirt and debris as possible. A clean surface will allow you to paint your shed easily and ensure good adhesion.
Next, remove any loose paint, rust, and corrosion on the surface of the metal. Use a putty knife or a scraper to remove loose or flaking paint (some of it may come off if you pressure wash your building as well). For rust and corrosion, you can sandblast the shed or use sandpaper or a sander. Be careful not to sand away any undamaged metal, but also be sure to remove as much rust as possible.
If the shed has any significant dents or cracks, you can fill these with a dent repair product such as auto body filler. Once you paint, this product will be almost invisible and will help your steel building look new again. Make sure you read and follow the instructions carefully for these products.
Also, remember that fillers are not meant for structural repairs – if your shed has any cracks or rust on frame members, you should get them repaired by a contractor to ensure your property is still solid.
Once your home is clean and all rust and loose material is removed, you can prime the surface with a metal primer. Be sure to cover all of the bare metal surfaces with a good coat to prevent corrosion. A good coat of primer will also help your chosen paint adhere to the surface of your shed better and will help the color look more natural.
Finally, apply your chosen paint according to the manufacturer’s directions. Choosing the right paint for your shed or metal building can be tough – make sure you get one that is rated for outdoor applications.
Acrylic and oil-based paints are good for outdoor use, but they’re a bit harder to work with and can give inexperienced painters some problems. However, you shouldn’t use latex paints on an outdoor shed, as they’re too prone to damage and chipping to last long.
There are several ways you can paint a shed, including with a:
- brush
- a roller
- or a paint sprayer
Brushes and rollers are slower and more labor-intensive, but they also apply thick, even coats of paint. Paint sprayers are faster, but if you use one you will likely need to apply multiple coats of paint. You should also be careful of paint runs and drips that can ruin the appearance of your shed.
Of course, if your metal building is too damaged or corroded, a coat of paint isn’t going to fix it. However, new metal building homes are surprisingly affordable and can last many many years. Call Bargain Barns USA today at 405-872-0338!
Why stop at paint? Let’s look at some other features you can to your new home:
Four of Our Favorite Steel Building Accessories
The versatility of steel buildings is one of their best qualities. There are hundreds of customizable features allowing you to change your new home to your liking. Here are some of our favorite ways to customize and accessorize a metal building – feel free to use this post as inspiration in your own steel building!
Gutters and Trim
Gutters and trim are a simple way to make your metal building more functional and attractive. They help give a simple roofline a more finished and home-like appearance and also protect the ground around your steel building from erosion.
Plus, channeling water away from the base of your steel building helps prevent rust and water damage, which will ensure that your shed has a long and useful life. And because they’re so simple to add, gutters and trim make an excellent first improvement to your new metal building home.
Windows and Skylights
Adding a window to your metal building might seem complex, but it’s really a very simple process. Steel buildings are easy to modify, so adding a window is a great way to open up space and add natural light without running electrical power to the building. There are several different kinds of windows available for metal buildings, including louvered windows, sliding glass panes, and fixed windows.
Another option is a translucent plastic skylight, which adds natural light through the roof instead of the walls. Try this if your metal building is frequently in the shade, or if you want to put up shelving that would block a window.
Vaulted Ceilings
The inside of a steel building home offers even more versatility than the outside. There are plenty of ways to maximize space inside a steel building. Shelves are an ever-popular option. Another way to add more space to your metal building is to install a lofted ceiling. These ceilings are going to take your new home to the next level of appeal.
Doors
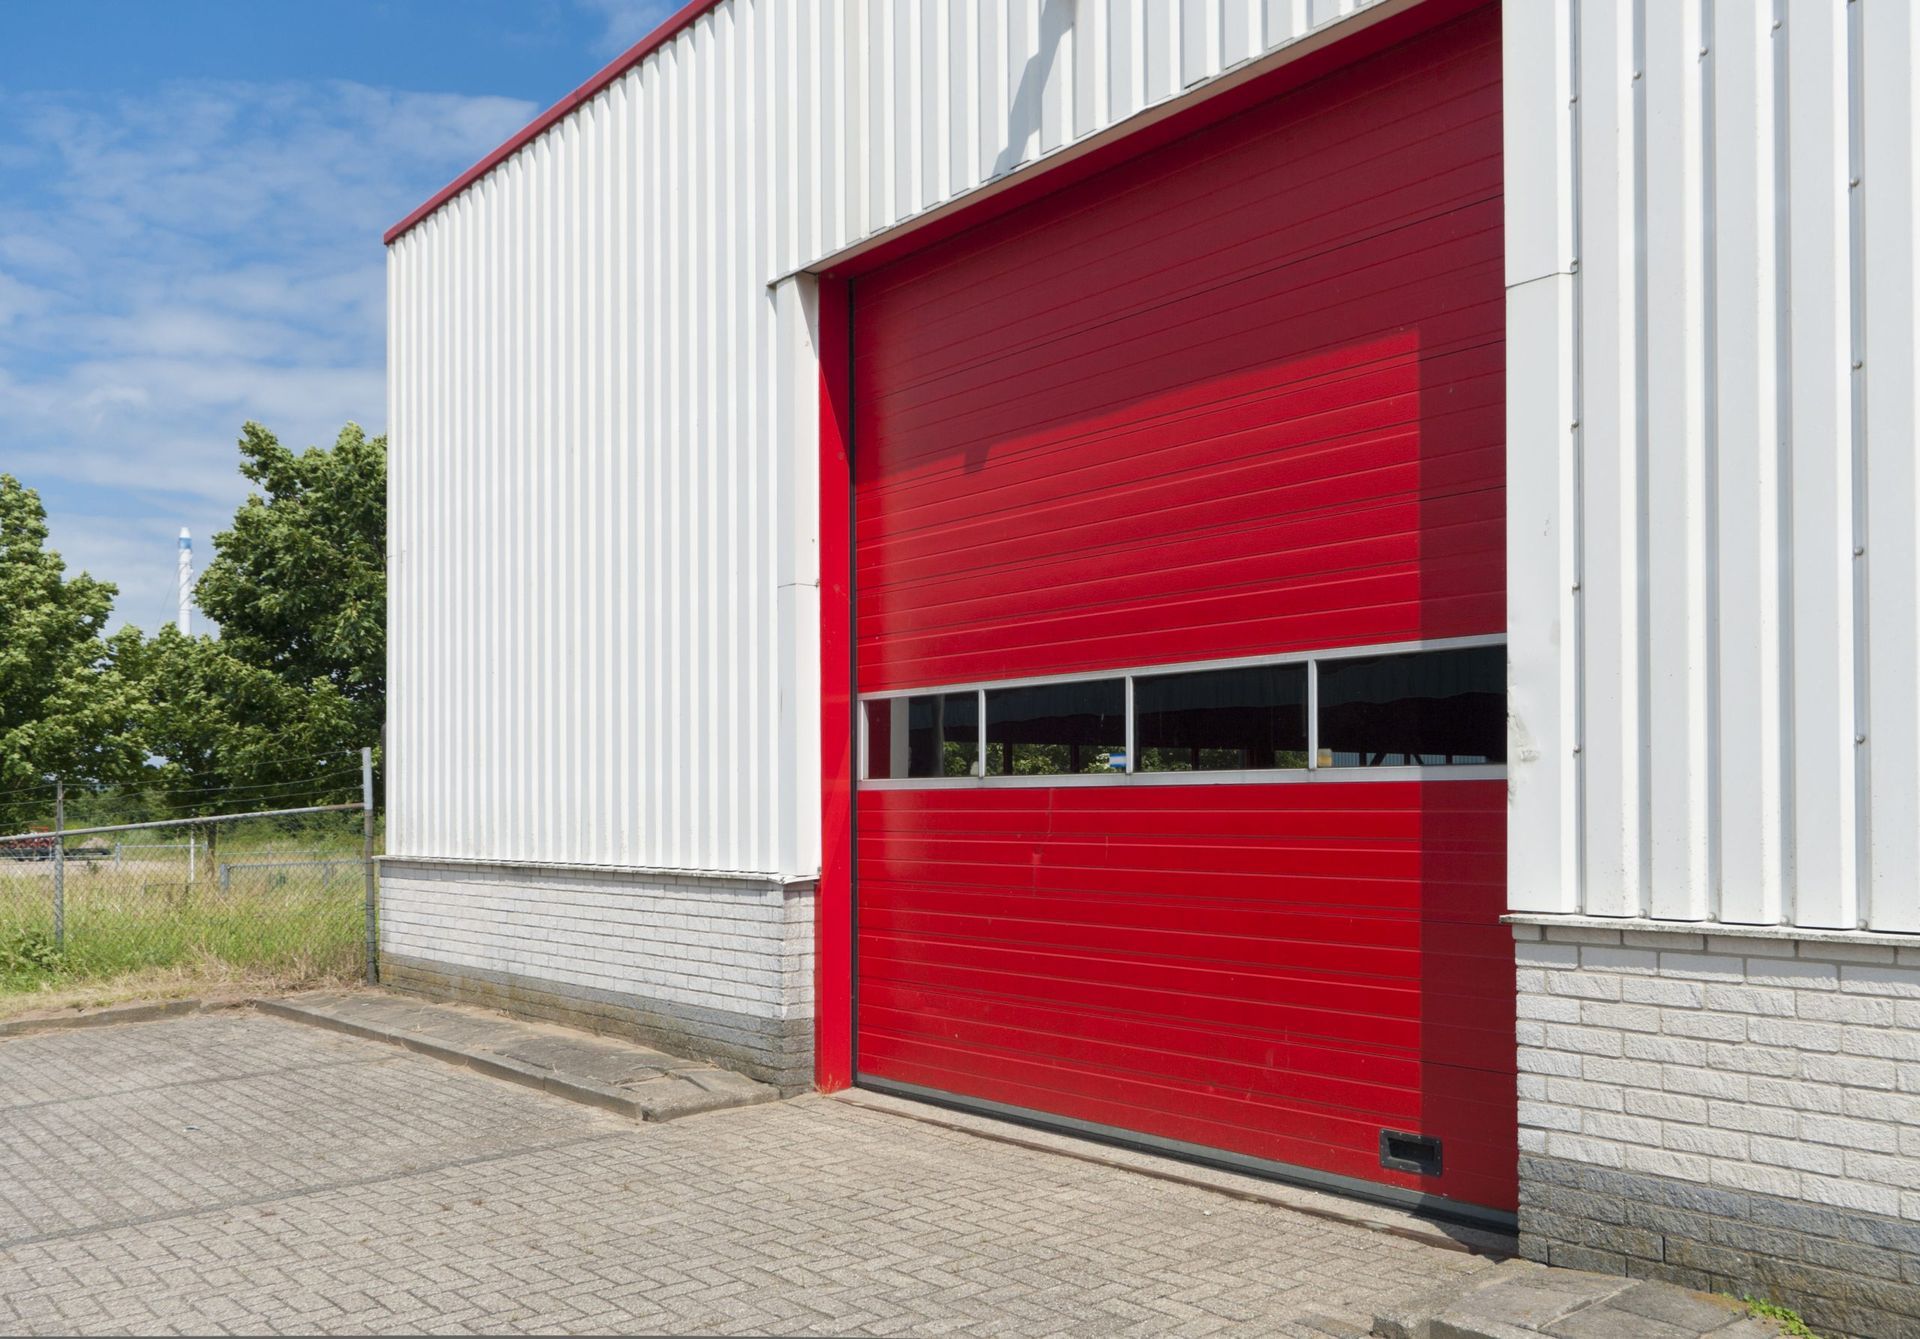
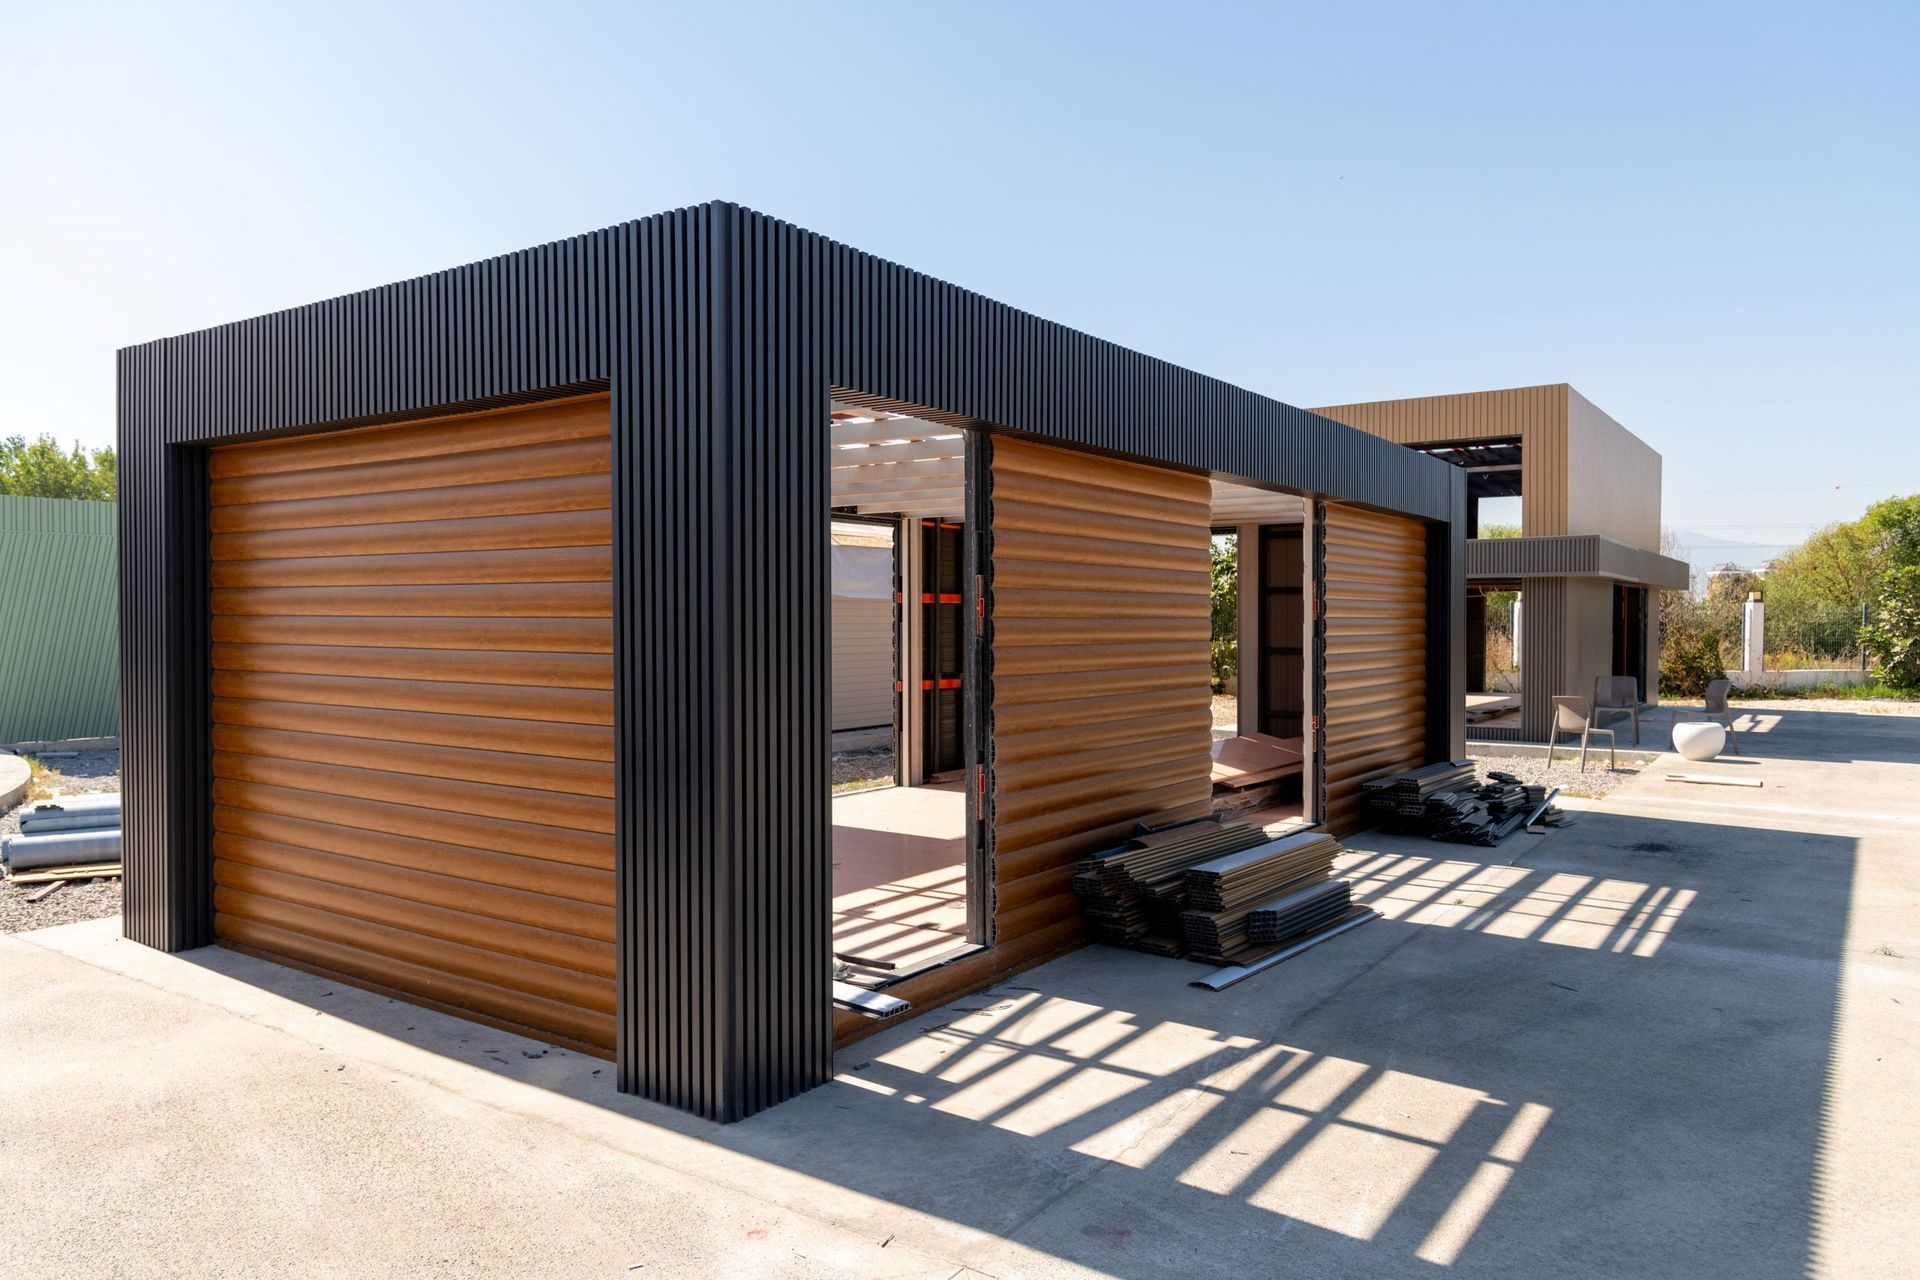
You’re probably thinking, “of course I need a door for my house”, but depending on your style, you might want either a roll-up, a barn style, or a walk-through door, or possibly a combination of these options. Each option offers its own advantages – roll-up doors are great for letting in massive amounts of natural light, but take up more room in the ceiling space of your home.
Barn-style doors are great for open areas, but not so good in tight quarters. Lastly, simple walk-through doors are perfect if you’re using your building as a home. Fortunately, you can easily customize your metal building with the best doors to suit your needs.
How We Can Help!
These are only a few of the many ways you can add to a metal building to make it your own. For more information on steel buildings and how you can customize them, contact one of our representatives at Bargain Barns USA today. You can also follow us on Facebook for steel building updates and special deals!
