Blog
DO YOU HAVE QUESTIONS OR ARE YOU READY TO ORDER? CONTACT BARGAIN BARNS USA!
Call (888) 607-4060. We will answer your questions & help you select an affordable, quality steel product.
Bargain Barns Blog
At Bargain Barns USA, we specialize in providing high-quality metal buildings, barns, carports, and more. Our blog offers valuable tips and tricks for building, maintaining, and customizing metal structures to suit your needs. Whether you're looking for guidance on installation, upkeep, or enhancing the durability of your metal buildings, our blog is here to help you get the most out of your investment. If you have any questions, you can contact us anytime and we will be happy to help. You can also connect with us on our Facebook page.
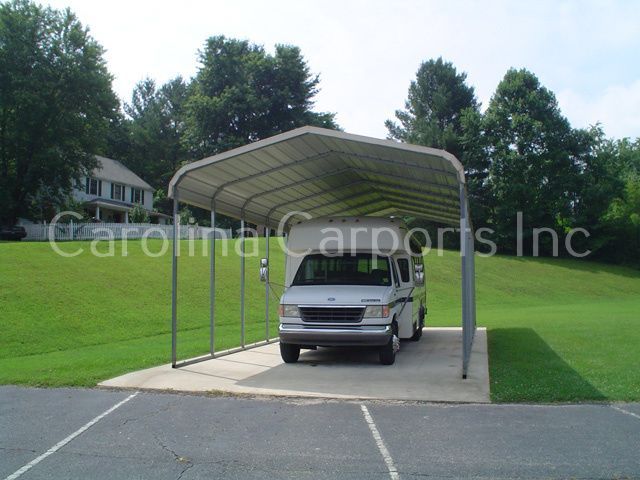
What Size RV Cover Do I Need? Learn the legal width/height limits, slide-out clearance, and why 18x35x12 is most common. RV Covers: Simple Guide + Size & Cost
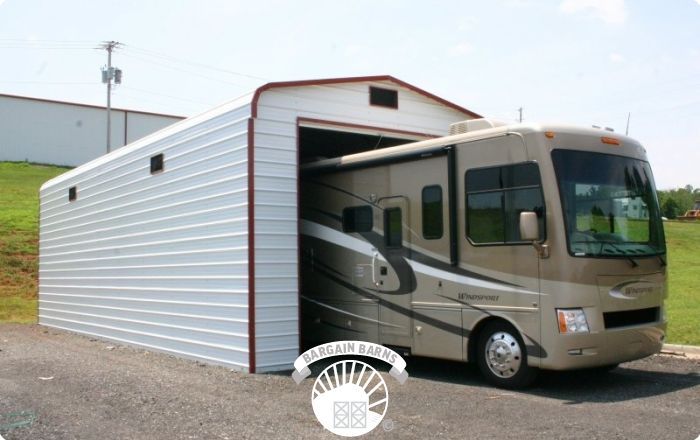
The Best Metal RV Covers for Winter. Our metal RV covers start at just $2,325.00, and we proudly serve the entire United States, offering state-specific pricing. Get a free quote.
Safety Benefits of Steel Buildings. Considering a new building and unsure of what material to use? Learn about the safety benefits of steel buildings.
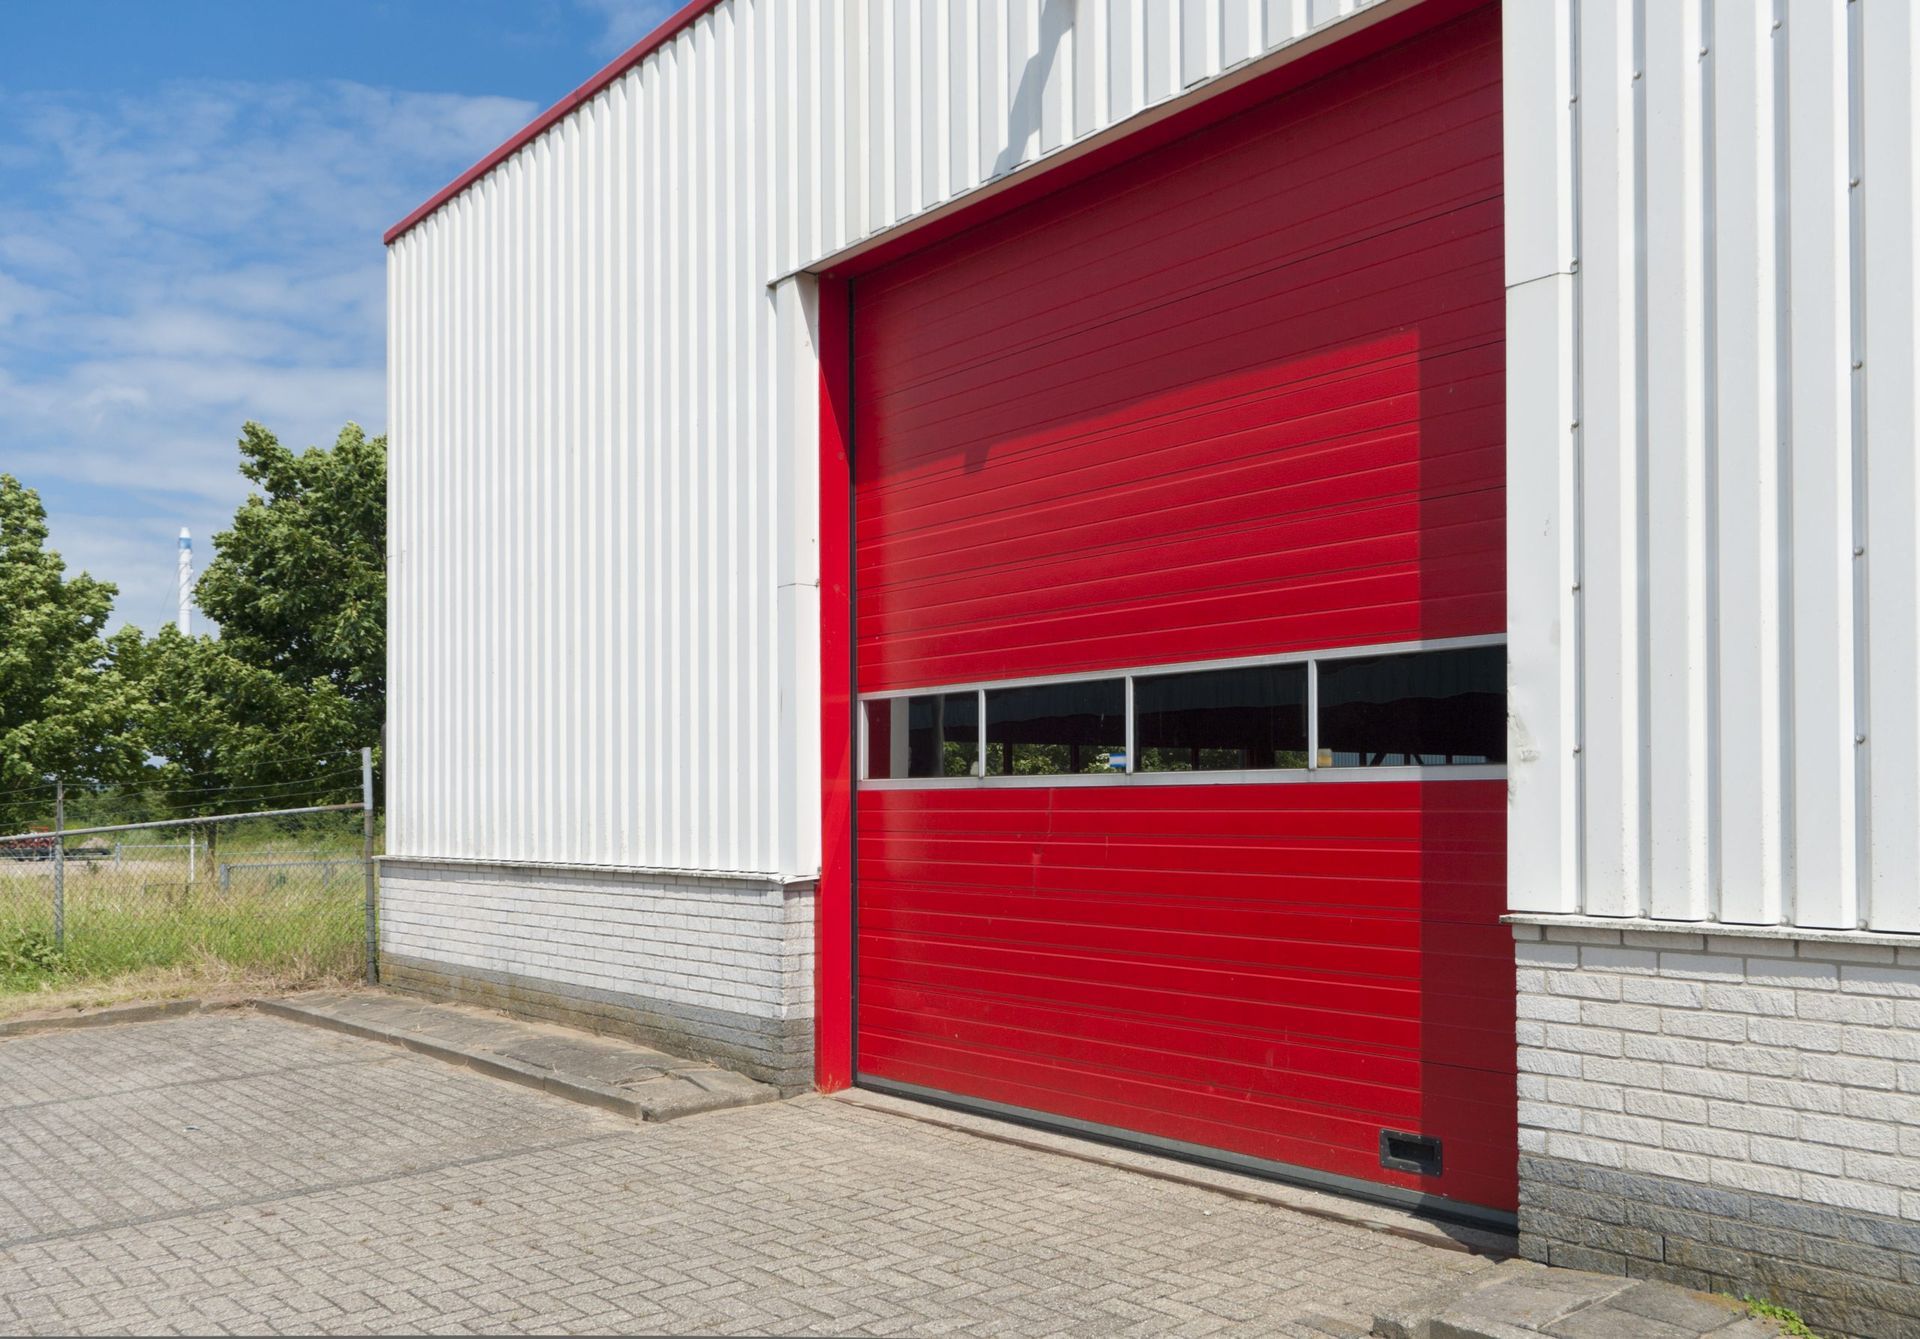
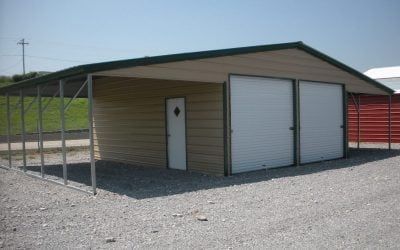
Comparing Wood-Frame and Steel Garages. Whether you need a new garage for your home or your business, you can trust Bargain Barns to make your vision a reality.
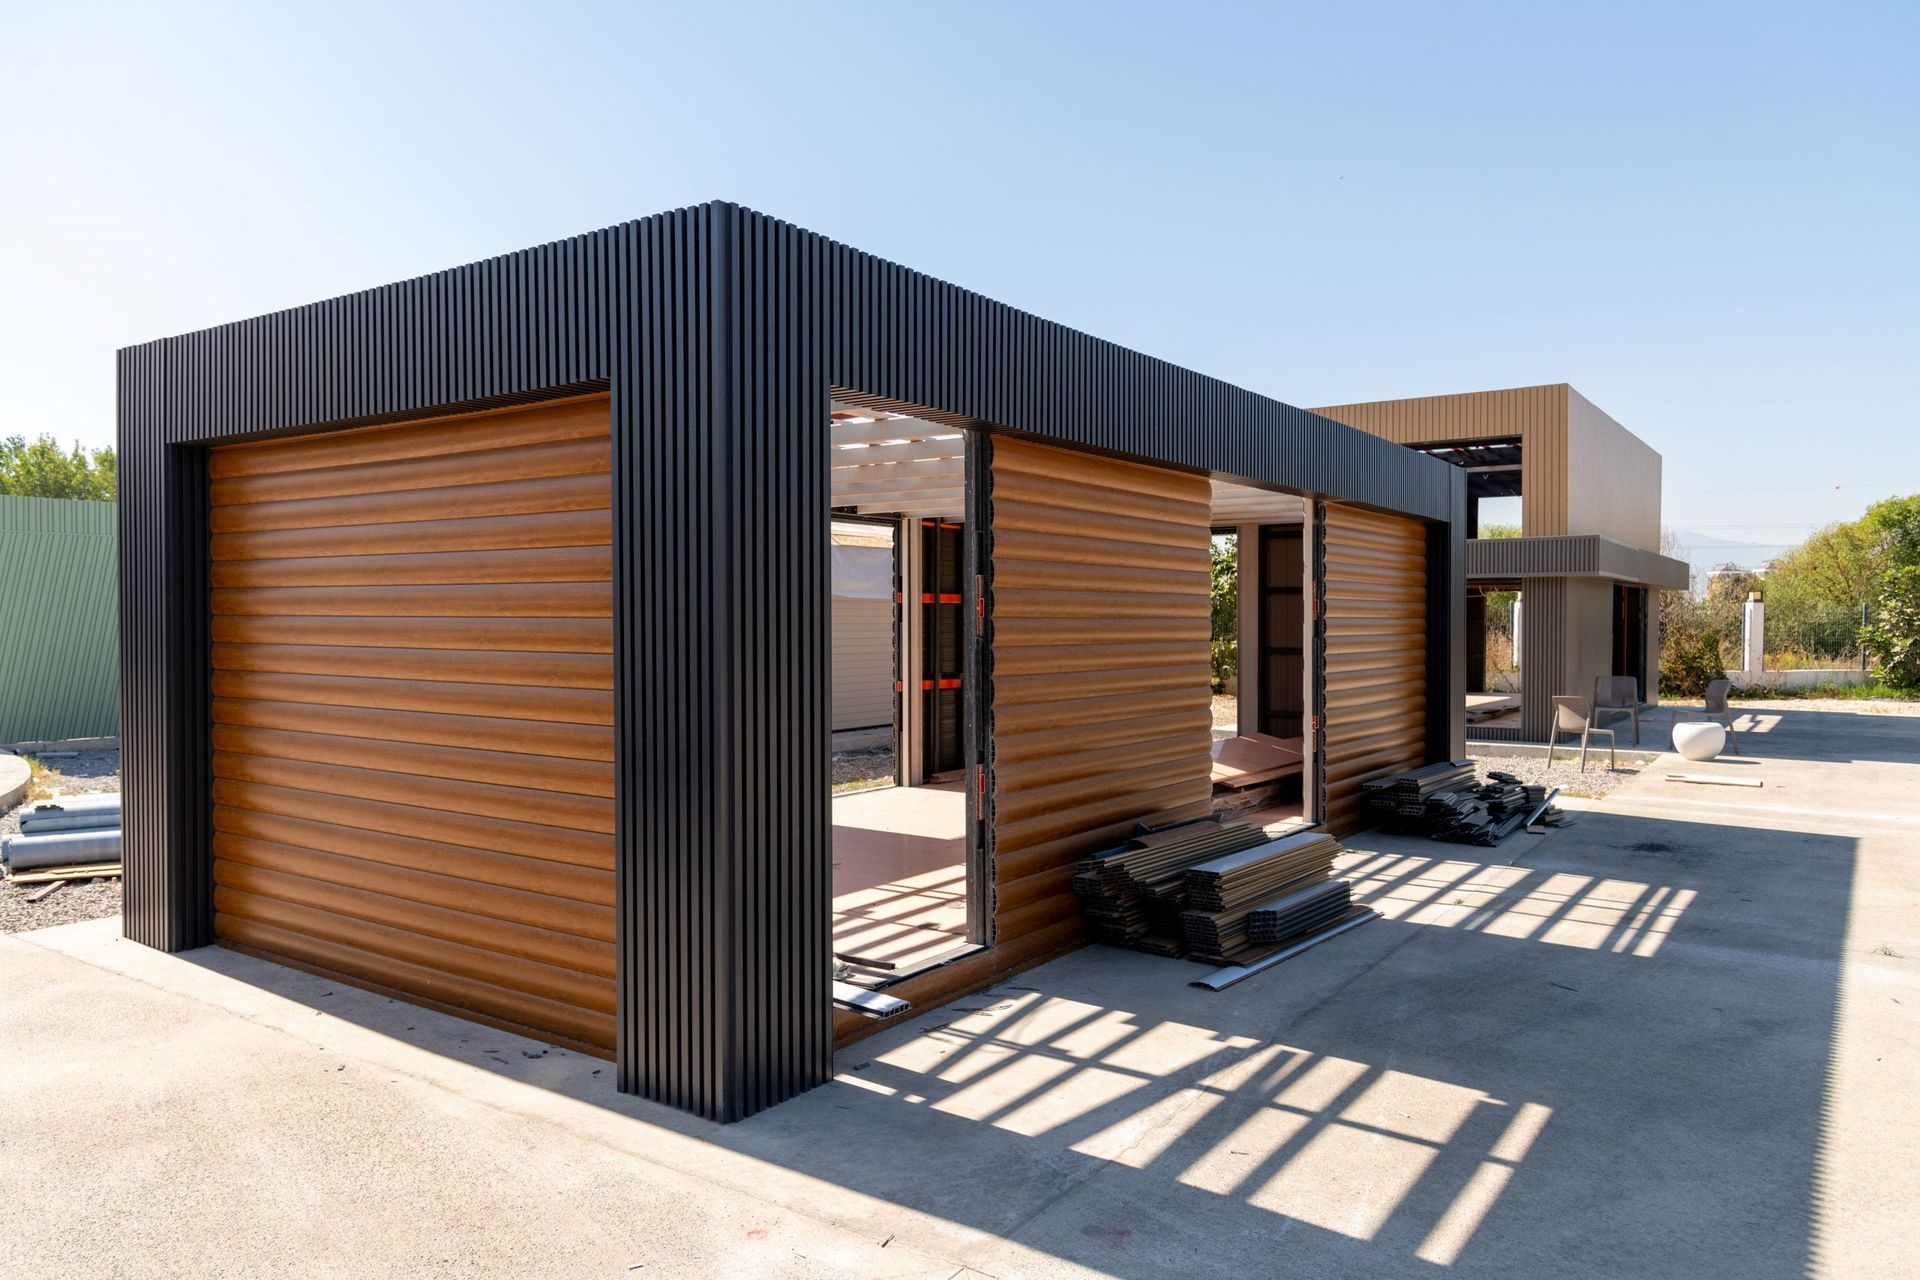
The post Tiny Homes – Why Steel May Be Your Best Choice. Steel tiny homes are far superior to wood-frame models when it comes to portability, structural integrity, and longevity.
How to Maintain Your Steel Structure. Learn the key elements for maintaining your steel structure and how regular upkeep can make your building last for years to come.
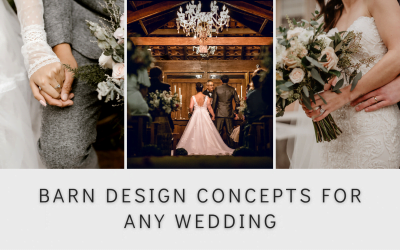
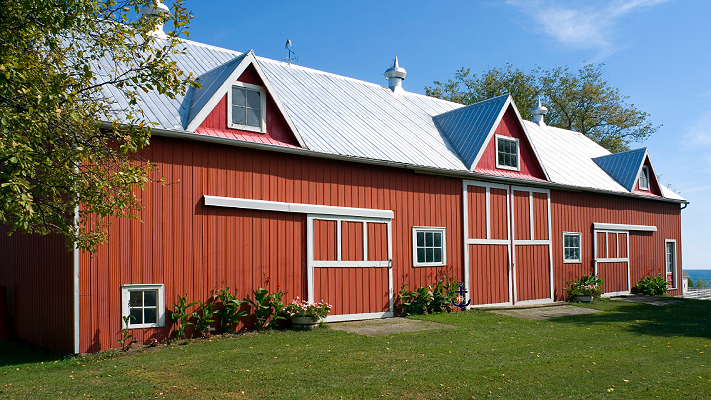
Barn Design Concepts for Any Wedding appeared first on Bargain Barns USA. Design concepts that can provide you with your dream barn wedding venue.
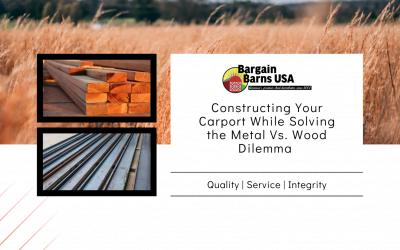
Constructing a Carport Wanting to know if your carport should be built out of wood or metal? We answer all of this in our newest blog!
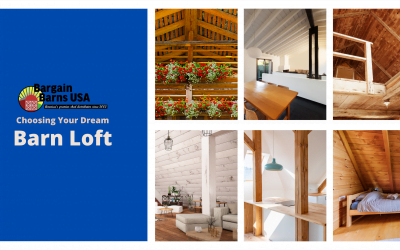
Choosing Your Dream Barn Loft. Wanting to build your dream loft? Why not a barn loft? All you need is your own beautiful patch of land and some creativity!
Wanting to know how to paint a carport? No worries! Let our latest blog teach you everything you need to know about customizing your carport!
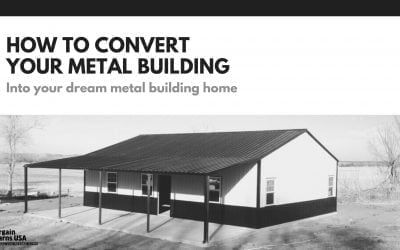
Looking to turn the metal building into a metal building home but don't know how? No worries our latest guide is exactly what you need!

Garage vs. carports, our latest guide provides you with everything you need to know about the two and can help you make the perfect purchase!
7 Reasons to Get A Metal Building In 2021 appeared first on Bargain Barns USA. In our latest blog we discuss reasons why you or your company needs to get a metal building.
In our latest blog, we breakdown everything you need to know when it comes to picking the perfect carport for you and or your family.
Many people use their metal buildings as garages, workshops, and storage spaces. However, if you don’t have any room to actually store or work on anything, you won’t get much use out of your building.
The post How to Hang Shelves and Other Items in Metal Buildings appeared first on Bargain Barns USA.
How Big Should My Steel Shed Be? Make sure you get the right steel shed or garage for your needs with this helpful guide from the steel building experts at Bargain Barns.
The Advantages of Freestanding Steel Carports. Freestanding carports are a great investment and an excellent addition to any home. Learn why from Bargain Barns USA.
Common Questions About Steel Buildings and Carports. We know that our steel buildings are high-quality, dependable, and tough. Find out what's right for you.
Wondering if you should repair your garden shed or replace it? No worries, let the blog help you with very decision, feel free to call too!
Does your metal building need repairs? Not sure what to do? No worries, let this blog help you start, we can answer any question you have!
Ready to design your very own custom carport? If so then we can help guide you through the entire process from start to finish!

The post How to Help Your Metal Carport Handle Winter appeared first on Bargain Barns USA.
Want to learn about mobile home anchors? We discuss the installation and attachment options for our mobile home anchors. Read more.
Enclosed storage buildings for lawn equipment, lawn mower storage, and garden equipment storage. Affordable high quality storage at Bargain Barns USA!